How to create your own Cake Bowl
Just like other food bowls such as smoothie, poké or buddha bowls, a cake bowl is actually nothing more or less than one piece of cake (literally and figuratively spoken), of which all separate ingredients are brought together in a bowl. The top layer has all those separate ingredients nicely placed next to each other, making sure you know exactly what to expect when you get that spoon in. It’s also the top layer that gives them their amazing looks and causes those instant cravings. Time to create your own cake bowl!
With cake bowls you can really take any direction and that’s why it’s so much fun to make one yourself! Combine your favourite FunCakes products in a bowl or add your leftovers from another baking project. Mix and match all you like. Trouble getting started? Follow the steps below to help you choose the different parts of a cake bowl.
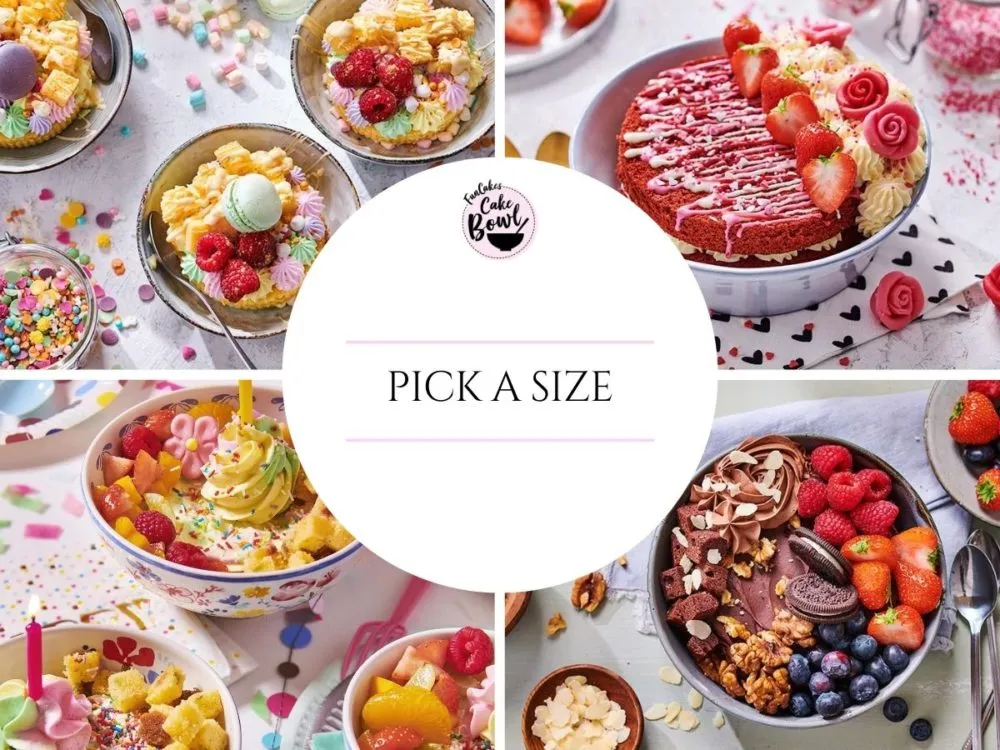
Check which bowls you still have in your shelves or buy nice disposable bowls in the supermarket. Make sure the size suits the occasion. If you serve them at a party or as part of a sweet table, then bowls with a diameter of 8-10 cm (350 ml) are more than enough. Are you going to share with your love or do you really feel like an evening of endless unabashed cheating on the couch by yourself? Then go for a large bowl of 12-15 cm. Make sure you have a cookie cutter that matches the bottom of your bowl in size.
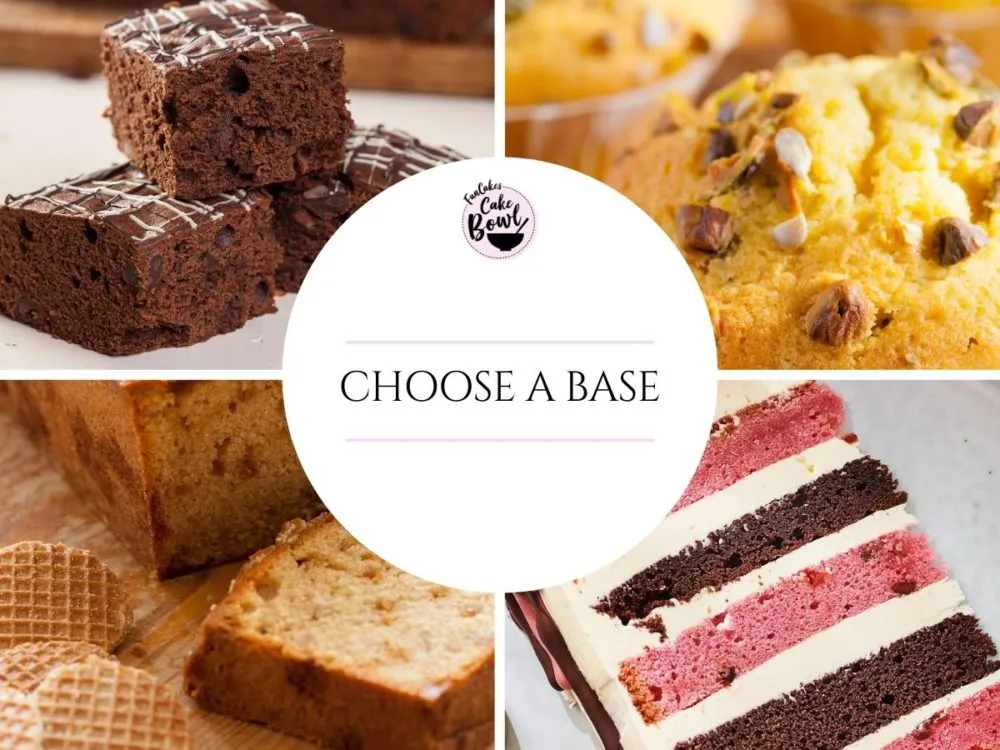
What’s in a name. The basis of your cake bowl is – of course – cake. You can choose anything you like, but pick your cake wisely. It’s the base for a reason. You will build your other components around this base, so make sure the combination is right. Bake a cake in a regular cake tin and use the cookie cutter to cut out enough slices for the number of cake bowls you are making. Also, make sure to have some extra cake to cut into small cubes, which you use for the top layer of your cake bowl, as a hint for what’s underneath.
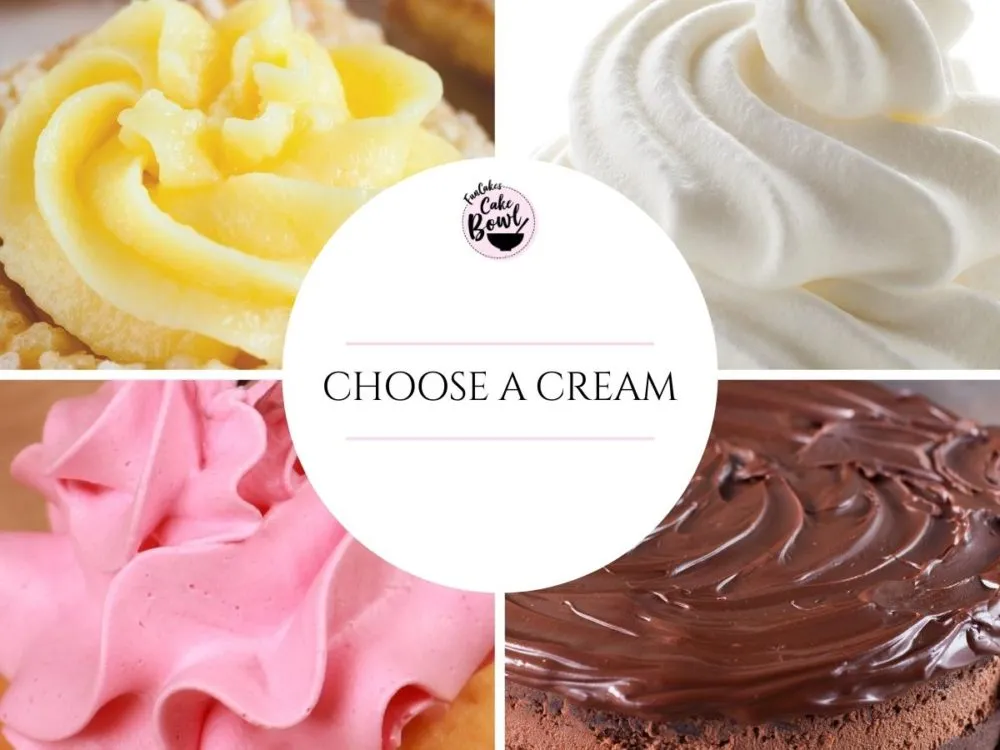
A cake bowl without filling doesn’t make it a real guilty pleasure. So time for some cream! Choose what you like and what suits the cake – buttercream, Enchanted Cream®, crème patisserie or bavarois. Everything is possible. Apply a layer of cream over the slice of cake on the bottom of the bowl, and make some tufts on the top layer for that fingerlickin’ good look. The cream is also the ideal ingredient to fill in some space along the side here and there.
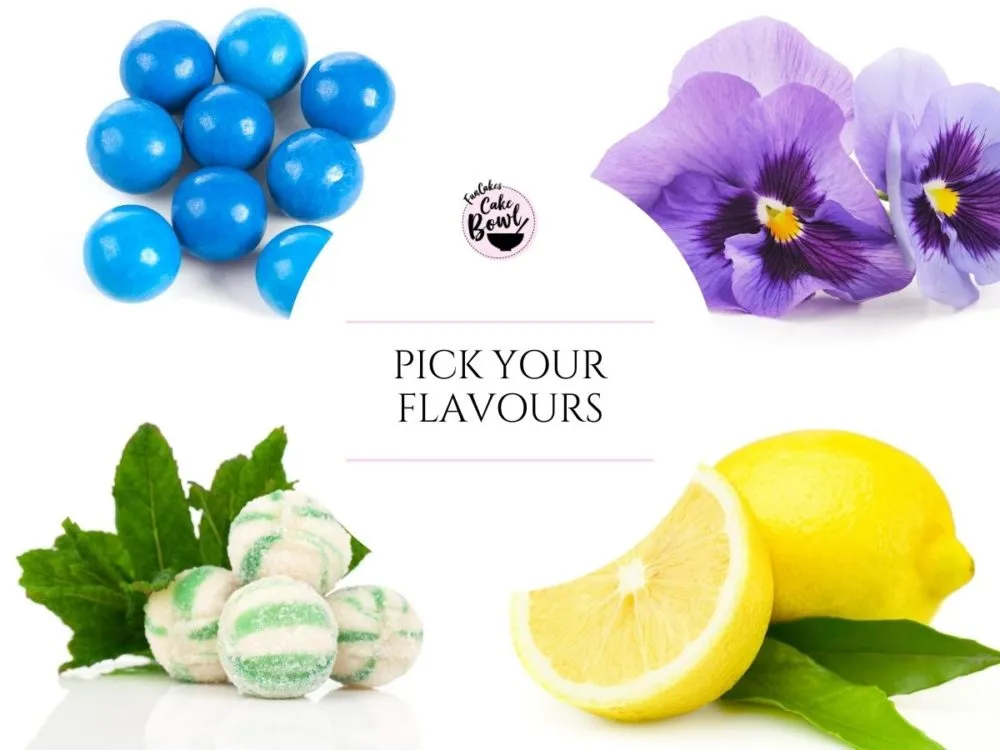
Now that you have chosen your cake and cream, there is a clear basis. But in terms of taste you can still go in different directions. Now is the time to choose a specific side. If you have opted for a neutral cake or cream, it can be nice to add a flavour paste. But even if your cake already has a specific taste, such as with the chocolate bowl or caramel bowl, it is good to decide which flavours to add. Does it need some freshness, something sour or can it never be sweet enough for you? By choosing a clear combination of flavours now, the choices in the next steps follow naturally.

By choosing your cake or cream and a combination of flavours, you probably already chose a certain colour palette, but take a moment to pay extra attention to it. How will the chosen ingredients look in a bowl? Would it be nice to colour your cake or cream? Which fruits and decorations would colour well with it? By thinking about this now, your cake bowl won’t end up being boring or one big circus of colours. In some cases your colour explosion can’t be big enough, for example with a birthday or unicorn bowl. In other cases, you may want to keep everything within one colour range or all ingredients already give the desired colour, so you can skip this step.
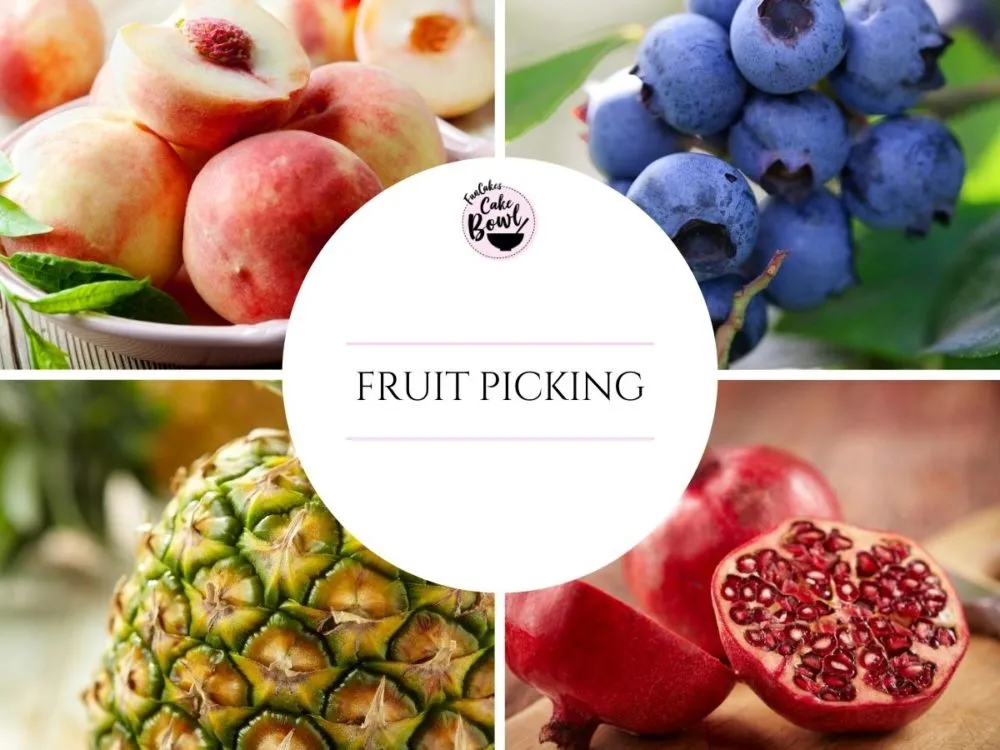
We have never made a cake bowl without fruit. They just make your bowl complete with their nice fresh taste and popping colours. And it is the perfect addition to the top layer of your bowl. Plus, with so much fruit to choose from, there is always one to suit your bowl.
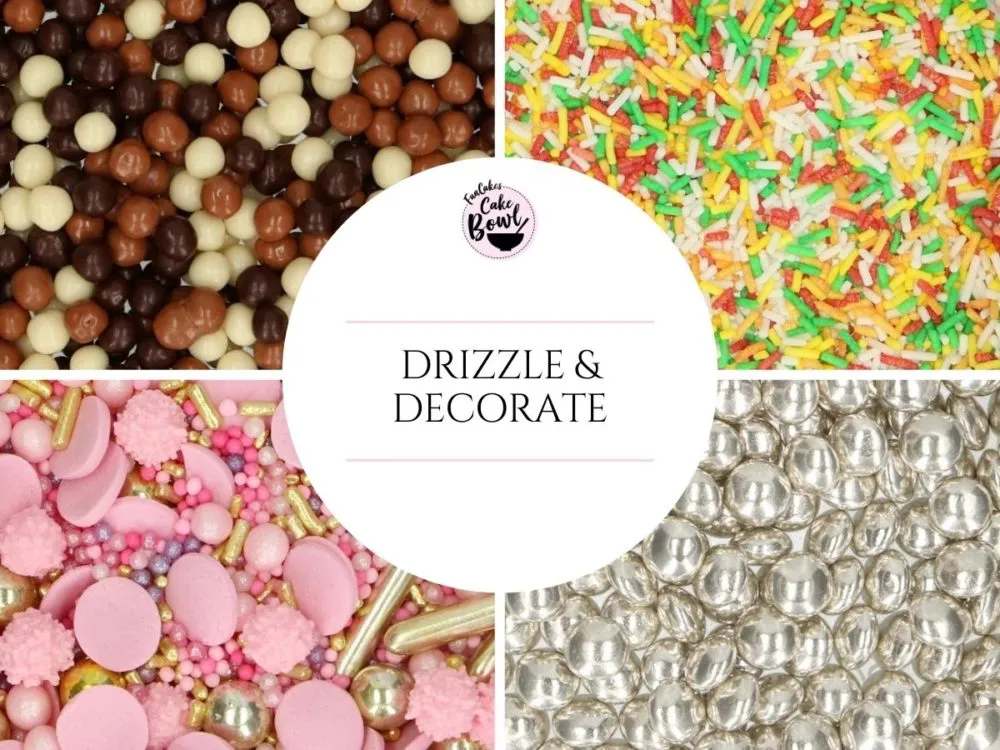
The moment is there, just that last finishing touch and then you’re ready to create your own cake bowl. Add a final subtle flavour with the right decorations or go for a festive touch with happy sprinkles. A drizzle of Deco Melts or chocolate over your cake cubes makes them look extra attractive and gives your cake bowl a very professional look. Do not exaggerate, but make a nice selection of decorations that really lift your cake bowl to the next level.
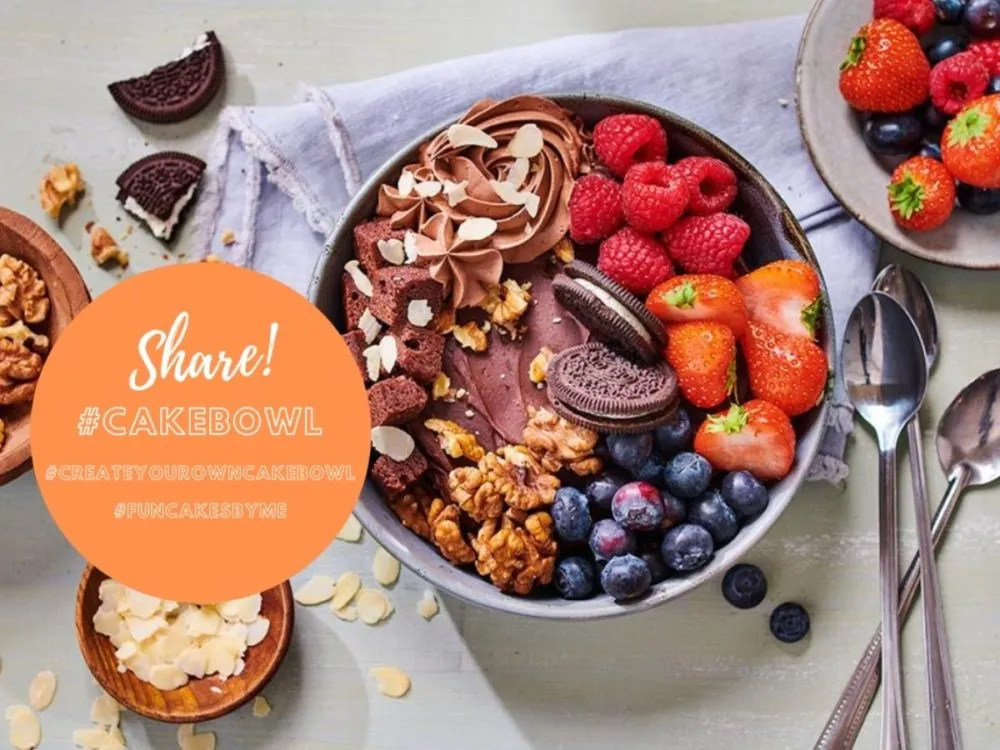
Made one? Don’t forget to share the result with us! For example on social media, by tagging FunCakes and using the hashtags #cakebowl, #createyourowncakebowl, #funcakesbyme. We will share your posts with our followers so it will inspire others to create their own Cake Bowl too! You can also send a picture to marketing@funcakes.com in order for us to post in on social media. We are so looking forward to seeing your creations!
Click here for more Cake Bowl Inspiration
