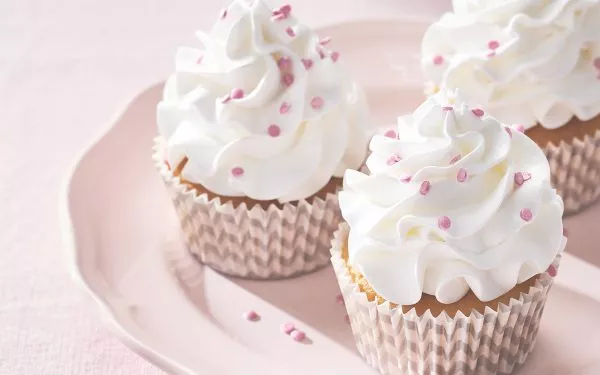
In 6 steps to an amazing sweet box
What type of home baker are you? Do you love to go big with beautiful layered cakes or does your heart jump at plates full of small treats? If you belong to the latter group, this blog is written for you. We will tell you everything about putting together a great sweet box: a box full of sweet treats!
The sweet box is all over Instagram and Pinterest lately and we understand why: not only does it look awesome and does it have something tasty for everyone, it is also very nice for a birthday, special occasion, Valentine or Mother’s Day! Everyone takes their own favourite treat from the box or you can even make a smaller treat box and deliver it to your best friend, colleague or granny.
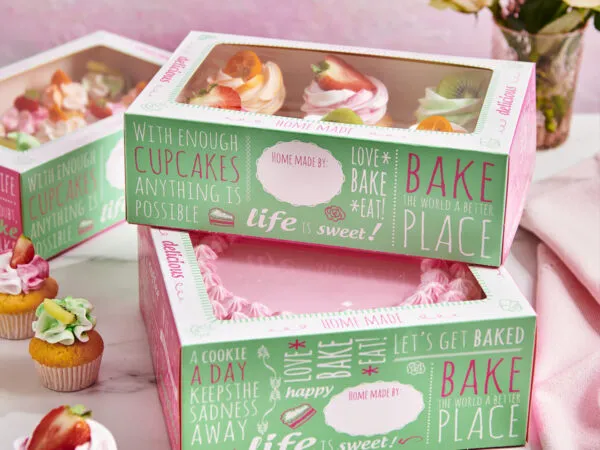
Easy.. the box of course!
Are you planning to pass by all your neighbors with your sweet box or do just want to surprise a friend with a cute box full of his or her favourite treats? The purpose of your sweet box determines its size and thus the amount of treats you’ll need. If you want to make a sweet box with enough choice for multiple guests, choose a large cake box or a nice wooden box! Our 36×25 cm cake box or 12 pc cupcakes box is then a nice size. Plus, a treat box with a lid will make it easy to transport it. Coose a cake box with a window so that all those goodies are immediately visible!
If you prefer to present your treats in a wooden box, consider a beautiful wooden cutlery tray. It is already conveniently divided into different compartments so that you can easily group your treats.
Looking for a smaller sized sweet box? Then cupcake boxes for 6 cupcakes or a cake box for a 20 or 25 cm cake work well.
Let's talk numbers
Now that you have determined the box, you can estimate the amount of treats you want to put in. A sweet box is all about a lot of choice! So for a small sweet box you also opt for many different treats, of which you add a few pieces per treat. Go for at least 5 to 7 treats. For a large sweet box, 8 to 12 different treats. Already getting nervous about this many treats to make? Don’t panic, you can go a long way by preparing and freezing treats or making multiple treats with one serving. We will give you plenty of tips for this later in this blog.
Don't make it a circus
Before choosing your treats, think about the final outcome. To ensure that your box will finally have a nice look, it is useful to already consider the colours that you are going to use.
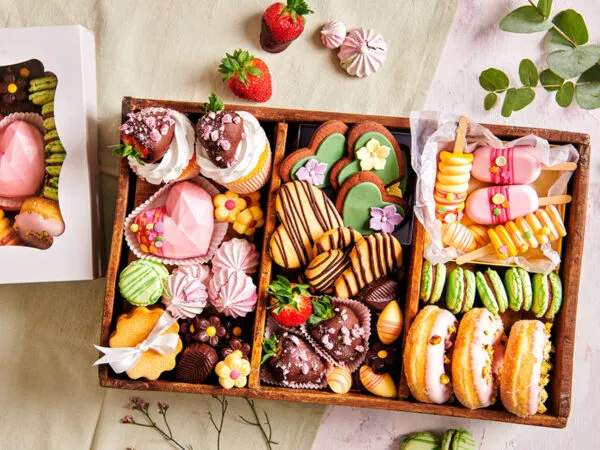
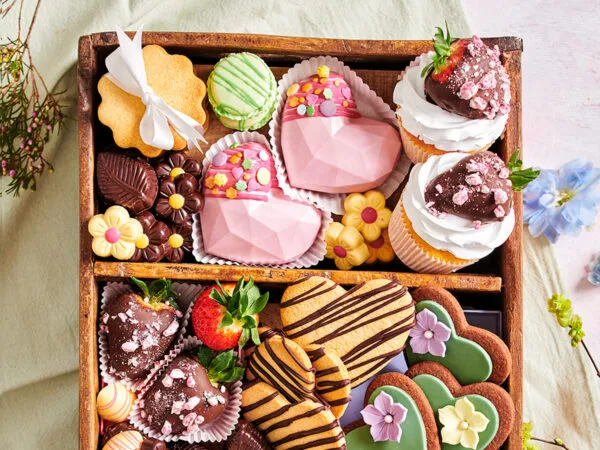
If you find it difficult to match the right colours, it can help to choose a specific theme for your box. For example, we wanted to make a nice spring box, so we opted for predominantly soft pastel shades. Our main colours became pink, green and yellow. Perfect for spring! In order not to make it too colourful, we decided to also leave the natural colours of the cookies, chocolate and donuts visible. This created a cheerful, yet soft look.
Out or in?
Now that you have determined your box, number of treats and your colour palette, it is time for the real work! Picking out treats. For a nice balance in the box, alternate large treats with small treats. Don’t go bigger than donuts and cupcakes in size. You often only add one or two of these to your box. Cookies should certainly not be missed! They are very convenient in a sweet box as you can make them as big or small as you like and they are nice and flat. Larger cookies can therefore easily be stacked (with a nice ribbon around them!).
If we are to believe Instagram and Pinterest, a sweet box isn’t complete without a geometric heart. They are literally the heart of every sweet box and you decorate them in a different way every time. So be sure to add one or two for your most special guest.
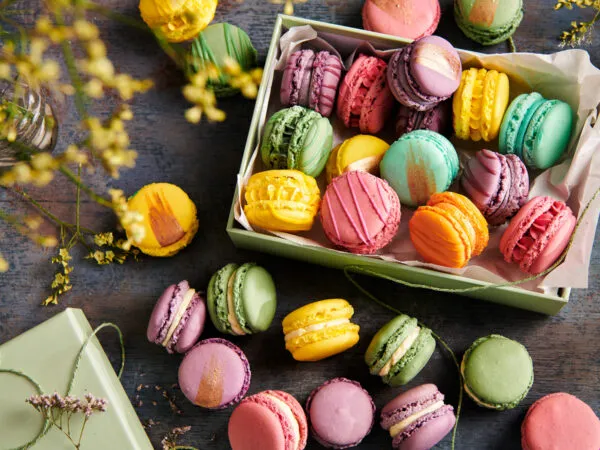
When you’ve got the bigger treats figured out, it’s time for the fillers: small treats you can conveniently fill the gaps with. We don’t mean that as irreverent as it sounds, because these little friends absolutely make your treat box. They make it look well stocked and are the reason one can keep on looking at a sweet box. For this group of treats think of macarons, chocolates, marshmallows and meringues. They are the cherry on the cake and can therefore not be missed.
Make it easy!
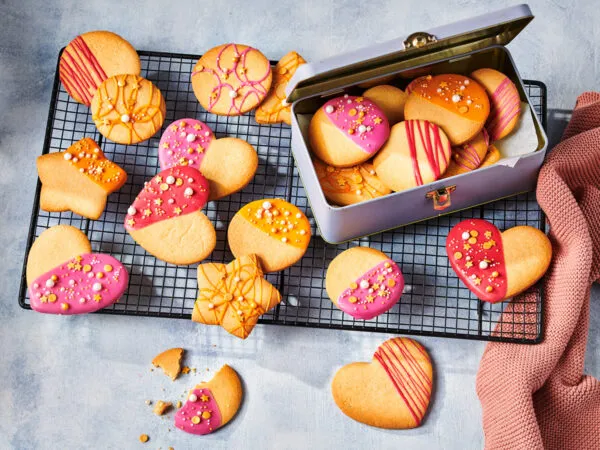
Have you dropped out when we mentioned the amount of treats to bake? Please don’t! If you make a creative baking plan, you really don’t have to spend days in the kitchen. Prepare different treats with one portion or product. For example with cookie dough. Choose two or three different shapes of cookies and decorate them in different ways. By placing them differently in your box, people hardly notice they are actually the same treats. Just take a closer look at our box. You will unnoticeably spot three types of cookies.
Another way to make several treats at once? Think Deco Melts or Chocolate Melts! You can use it to make cakesicles, geometric hearts, chocolates and dip your donuts in them. Did you choose cupcakes in your box? Then use it again to fill up your cakesicles and geometric hearts.
Another little secret from our box: pay attention to the strawberries. We dipped it in chocolate that we had left from the bonbons. We decorated them with crumbled meringues that we had already made for the box. And those same strawberries turned out to be a nice decoration for the cupcakes!
Finally, don’t forget your freezer. Many of our products can be frozen, so part of your treat box can be made well in advance. Read more about freezing and storing baked goods via the button below.
This is the moment!
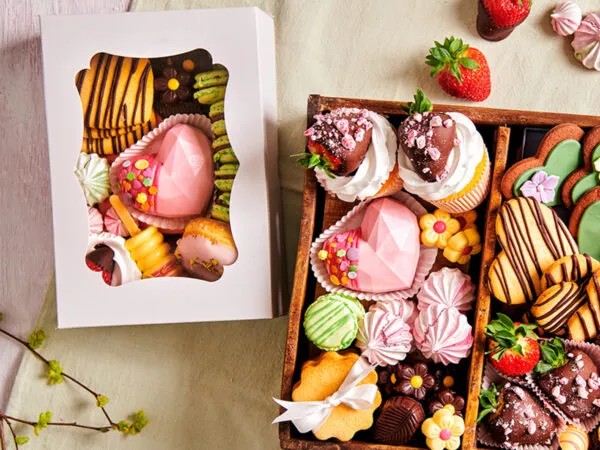
Finished baking all your treats? Then this is the moment! Building your treat box. Particularly in a larger treat box, it can be useful to divide the box into smaller compartments, for example by placing smaller boxes in a larger box or working with small pieces of cardboard as partitions. And don’t forget baking paper or baking cups as tools to create compartments in which to present treats. By dividing your treat box and assigning each part to a certain treat, you create a well-organized whole.
When filling your box, start with your biggest treats. Divide these here and there over your box and then fill in the gaps with the smaller treats. Also consider different ways of presenting your treats. Cookies, donuts and macarons, for example, can either be stacked or placed on their sides in a row. Keep in mind to create a good overview of all treats and to alternate the different shapes, sizes and colours of your treats nicely.
Do you use a sweet box with a lid, such as our cake boxes with a window? Then there is a good chance that not everything of your sweet box is visible when it is closed. In that case, make sure you work from the center. Place the real eye catchers, such as the geo heart, in the center of your box and work outwards from there. Try to see as many treats as possible through the window. Don’t worry about treats of which you can only see a small corner through the window, it will only make people curious!
Have you become enthusiastic? Then take a look at our recipes, there you will find more than enough treats for your treat box. We love to see and share your result on our social media channels! So don’t forget to tag us and use the hashtags #funcakesbecreative and #funcakesbyme. Have fun baking!
