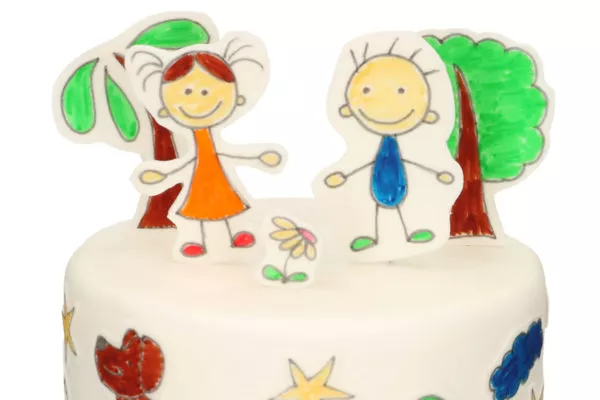
Children's drawing cake
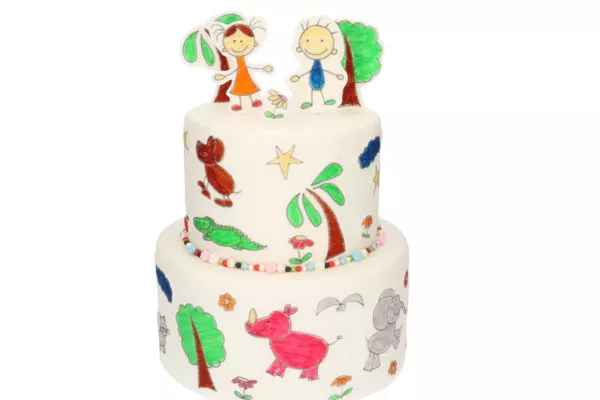
Unleash your children’s creativity on the FunCakes frosty sheets with the FunColours brush food pens. Stick this on a freshly baked cake and enjoy a nice creative baking afternoon with the kids.
Ce dont vous avez besoin pour faire votre children's drawing cake:
Ingrédients
- 400 g FunCakes Mix for Sponge Cake Deluxe
- 200 g FunCakes Special Edition Mix for Swiss Meringue Buttercream
- 50 g FunCakes Mix for Royal Icing
- 800 g FunCakes Fondant Bright White
- FunColours Brush Food Pen Yellow
- FunColours Brush Food Pen Black
- FunColours Brush Food Pen Silver Grey
- FunColours Brush Food Pen Red
- FunColours Brush Food Pen Brown
- FunColours Brush Food Pen Dark Blue
- FunColours Brush Food Pen Green
- FunColours Brush Food Pen Purple
- FunColours Brush Food Pen Orange
- 6 eggs (aproxx. 300 g)
- 180 ml water
- 440 g unsalted butter
Nécessités
- FunCakes Frosty Sheets A4
- FunCakes Piping Gel
- FunCakes Cake Cards silver-gold round 15cm
- FunCakes Bake Release Spray
- FunCakes Magic Roll-Out Powder
- FunCakes CMC - Tylo Powder
- Wilton Bamboo Dowel Rods
- Wilton cake leveler
- Wilton cooling grid
- Wilton Comfort Grip Spatula Angled 22,5 cm
- Wilton –Wide Glide– Rolling Pin 50 cm
- Wilton Decorator Preferred® round baking pan Ø 15 cm
- PME Modelling tool, Blade and Shell
- Skewers
Preheat the oven to 180 ° C (convection oven 160 ° C).
Prepare 400 g FunCakes Mix for Sponge Cake Deluxe as indicated on the package. Grease the baking pans with baking spray and divide the batter between the two pans. Bake the sponge cakes for about 30-35 minutes and let the cakes cool down by using a cooling grid.
Tip! Isn’t your oven big enough to bake two sponge cakes at once? No problem, you’re perfectly fine baking one cake after the other. Just mix the batters for the two cakes separately as well. If you leave the sponge cake batter for too long before baking it, it will loose the air. And we don’t want that! For the quantities of the single cakes, check our quantity table.
Prepare 200 g FunCakes Special Edition Mix for Swiss Meringue Buttercream as indicated on the package.
In the meantime, let the kids make drawings on the frosty sheets with the FunColours Brush Food pens.
Cut the sponge cakes both twice and fill and spread all around with the Swiss Meringue Buttercream. Leave the cakes in the refrigerator for at least 30 minutes. Knead the fondant smoothly and roll it out on Magic Roll-Out Powder to a thickness of about 2-3 mm and cover the cakes with it.
Stack the cakes using the dowels and a cake carton.
Tip! Watch this video to find out how to stack your cake well and you can also cut the cake board slightly so that you don’t see it underneath your cake.
Cut out the drawings on the frosty sheet and stick them on your cake with piping gel. For the topper, cut out a piece of fondant in the same shape as the drawing and let it dry overnight. Stick the drawing on top of the fondant with piping gel. Attach a skewer on the back with a little bit of royal icing and place the topper into the cake.
Tip! Make sure you rub the entire print well with piping gel and do not forget a piece, otherwise it will bubble!
